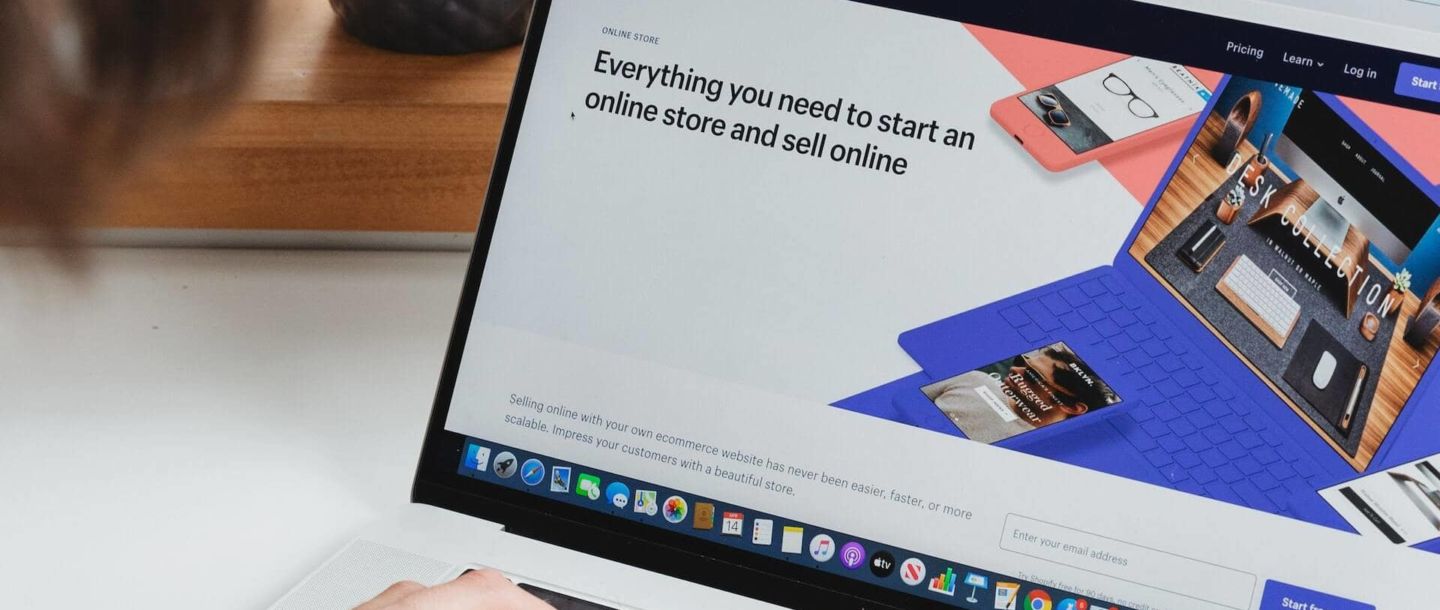
Expert Tips on How to Build an e-commerce Store on Shopify
These statistics are nothing short of remarkable, and they may have you wondering how to build your own e-commerce store on Shopify so you can reach consumers worldwide.
- Is Shopify Worth it?
- Should You Hire a Shopify Developer?
- What You Need to Build an e-Commerce store on Shopify
- 11 Steps to Creating Your e-Commerce store on Shopify platform
- How to Promote Your e-Commerce Store on Shopify?
- How Much Does it Cost to Build an E-Commerce Store on Shopify?
- What are the Alternatives to Shopify?
While the platform is easy to use and built for beginners, hiring a Shopify developer can help you get the most out of the software. With that said, here’s an 11-step guide to show you how to build a Shopify store from start to finish.
Is Shopify Worth it?
Shopify is worth exploring because it’s easy to use and offers a full range of functionalities for your ecommerce website. No matter what kind of business you have, Shopify is accessible to everyone and provides comprehensive resources and tips to ensure you can get your online store up and running quickly and capitalize on sales.
Should You Hire a Shopify Developer?
Building an e-commerce store on Shopify doesn’t have to be difficult, especially with a professional by your side. You can hire a developer specializing in Shopify online stores for your convenience. These experts know the ins and outs of the platform and can ensure all the backend coding is taken care of, which is particularly useful if you want your store to stand out to consumers.
Alternatively, this 11-step guide can also help you set up your online store.
Overall, it takes some time and resources to ensure each element of your website promotes your brand accurately and maximizes user experience.
What You Need to Build an e-Commerce store on Shopify
The great thing about Shopify is that all you need to get started is a computer, internet access, some extra setup time, and financial resources to pay for the fees. Here’s what to keep in mind before you build your online store:
- While Shopify is beginner-friendly, it’s essential to plan your business beforehand, including everything from the name of your store to your products, processes, and visions for your storefront. This planning stage can help the build go smoothly.
- Initial sign-up usually doesn’t take more than ten minutes, but customizing and designing your store may take longer, depending on how elaborate you intend your site to be.
- The price of Shopify plans depends on your needs. Each plan has different features, so prepare to budget and understand all the functionalities your business might require. Generally, depending on where you are in the world, Shopify monthly plans can range from the twenties to the high hundreds.
11 Steps to Creating Your e-Commerce store on Shopify platform
Now that you know a bit about the platform and how to prepare for the site build, your next step is to create your site. It’s a good idea to collaborate with a web developer through each step to help you understand how you can add extra value to your store beyond the basics of DIY setups. With that said, here’s how to build a Shopify website in 11 easy steps:
1. Plan Your Project and Create Your Account
Once you team up with a web developer, it’s crucial to sit down and plan out your project. This includes discussing budgets, timelines, and visions for your business. A Shopify developer can point out areas needing extra work and ensure you’re on the right track for launching your site properly and effectively.
After discussing the project plan, your web developer can set up your account. If you’ve never used Shopify before, you can start a free trial. Creating your account requires the input of information like the following:
- Password
- Store name
- Personal address
- Phone number.
2. Adjust Your Settings
Once you enter your store, you’ll see your Shopify dashboard, with a navigation menu on the left and various features and tools. This menu is where you manage your entire shop. Before you get into the fun parts of designing your online store, click settings at the bottom left of the screen. This is where you can set up your time zone, select your currency, change your store name, and adjust other relevant settings.
Check with your web developer during this step, as they have a keen eye for important settings and can guide you through which ones are most relevant to your store.
3. Choose a Theme
When you first enter your store, Shopify typically gives you a default theme. You can easily select a new one by clicking “online store” and exploring free themes. There are also premium themes for a fee. However, the beauty of the free versions is that they’re all sleek and modern and provide tailored layout options to match specific industries.
Select the theme that matches your brand and products. If you’re unsure, each option has reviews from other users, so you can understand the pros and cons before making a decision.
4. Customize the Look and Feel of Your Theme
A theme lays the building blocks for your store. Customizing your theme to make it unique to your business is essential to elevate user experience.
To customize your online store, navigate to the left panel and hover over your newly-added theme. Click “customize.” This will take you to the Shopify theme editor.
You’ll see various tools to change text, fonts, colours, headers, and images on the left. The right side of your screen shows a live preview of your selected customizations.
It’s important to check in with your web developer at this stage. They have experience with enhancing UX and UI and can use their coding knowledge to ensure all the sections and pages of your online store are optimized in the most reliable and efficient ways.
5. Add Important Pages
We recommend setting up essential pages on your site to ensure users have all relevant information during browsing and purchasing. Click “pages” under your Online Store tab. Here are some examples of what you can include:
- An about page
- A contact page
- A legal page outlining refund, privacy, terms and conditions, and shipping policies
Since your project is unique, collaborate with your web developer so they can provide recommendations on which pages are most relevant and how to set them up for the most convenient user experience.
6. Add Your Products and Services
Once you feel good about your site design, it’s time to add your products or services for customers to purchase. Navigate to your Shopify admin dashboard and select “products” on the left panel. You can add your own products or find products to sell. For this guide, we’ll focus on adding your own products.
When you select this option, it’ll take you to a page that allows you to input the title of your product, a description, pricing, images, and other important information. Fill in these details as accurately as possible and repeat this process for all your products or services.
Adding Product Variants
If you have products in different colours, you can add variants. You can find this field by scrolling past the title, description, and product images. Ensure you have product images of each variation for the best user experience.
7. Organize Your Products
Now that you have various products or services on your site, it’s important to organize everything into collections so users can easily browse and access each item.
On the left panel, under “products,” select “collections.” Here, you can create new collections, include tags for filtering, and select the relevant products.
8. Set Up Your Shopify e-Commerce Store Email
An email automatically comes with any Shopify plan. Setting this up is vital for building audience lists, offering promotions, and staying on top of customer requests and communications. In the menu on the left of your admin dashboard, click “settings.” Then, scroll down to contact information and select “view email settings.”
Here, you can set up the “sender email address” for outgoing communications and marketing incentives. You can use your e-commerce store on Shopify domain email address or a different one.
You can also adjust your email notification settings to include everything from order fulfillment to shipping and cancellation updates.
9. Set Up Your Payment Options
Back in your settings under “payments,” you can connect payment methods to your online store. Follow the on-screen instructions to activate Shopify payments. If you want to accept other types of payments through a third-party provider, like PayPal, click “see all other providers” and follow the steps.
10. Select Your Plan
At the beginning of this guide, we selected “start free trial.” You’ll need to choose a plan to ensure you don’t lose your setup after the free trial ends. On your admin dashboard, go to your settings and select “account.”
You can select from three options: Basic, Shopify, and Advanced. Review the plans and compare the features to determine which will serve your business the best. You can pay monthly or yearly. Keep in mind that paying per annum is often the cheaper option but requires a full-year commitment.
11. Launch Your e-Commerce Store on Shopify
Now that you’ve secured your plan, it’s time to launch your store! Shopify offers a feature where you can create a marketing campaign to kick off your launch. Navigate to “marketing” and select “campaigns.”
You can create a new campaign with options like Google or Facebook ads, email marketing, or other social media initiatives. Completing the setup for your new campaign is easy — all you have to do is follow Shopify’s on-screen step-by-step instructions.
How to Promote Your e-Commerce Store on Shopify?
Once you’ve launched your store, it’s essential to gain visibility — you need an audience to sell to, after all. Aside from the initial marketing campaigns outlined in step 11, you can set up your social media business pages and begin promoting on these platforms.
Instagram and Facebook are excellent places to start, as you can take advantage of paid ads and influencer marketing. Work on building your follower base on social media to drive more traffic to your online store. To do this:
- Remain active on your accounts
- Interact with users
- Reply to comments
- Offer promotions
How Much Does it Cost to Build an E-Commerce Store on Shopify?
Collaboration with a Shopify developer is a sound investment, especially if you’re new to the ecommerce world. Ecommerce development costs depend on the size and complexity of your project. These costs include the following:
- Shopify fees
- Hiring a developer for the website build
- Ongoing site maintenance
- Paying for extra add-ons or features
- The time it takes to build a site
Keep in mind that it could take months to get your Shopify store up and running, especially if you’re a new business owner. In your timeline, you should factor in the following:
- Planning your online shop (this can take months)
- Initial setup (usually not more than a day)
- Front and backend coding
- Design touchups
- Ironing out policies and processes before launch day
While it’s possible to launch your store quickly by yourself, it’s essential to take your time and work with a professional if you want long-term site reliability and minimal issues down the line. This careful approach ensures that when it’s time to open up shop, you can spend time growing your business instead of fixing avoidable issues.
What are the Alternatives to Shopify?
While Shopify is universal, easy to use, and beginner friendly, you might want to explore some alternatives. Here are some examples:
You can also hire an ecommerce developer to build your online store from scratch. That’s where we come in at Goodie Website. We can connect you with industry-leading freelance web developers so your online store can have all the features and functions you desire. Contact us today to start your ecommerce journey.